Installing a New Refrigerator Vent
A frequent 1960’s vintage repair is the replacement of the original plastic refrigerator roof vent. The 24″ plastic vent did not weather well due to UV and obstacle damage.
Ours had been replaced some time in the past with an ill fitting replacement. There is a 28″ aluminum replacement cover available from Airstream dealers ($48) that has the same appearance, but needs to be cut down to match up with the original holes in the skin. Here is how we did ours.
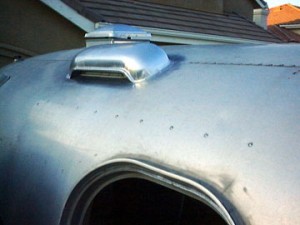
Steps:
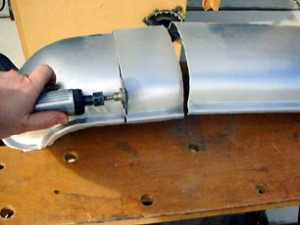
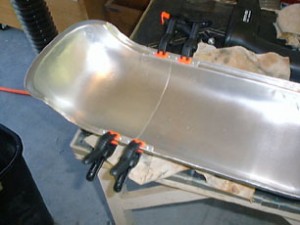
- Cut a 4″ section from the cover with a high speed cut-off wheel. Tin snips will just distort the cover. Here I removed it to one side of the middle in order to leave the center dimple. (note: the new covers don’t appear to have this dimple anymore)
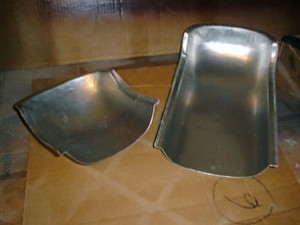
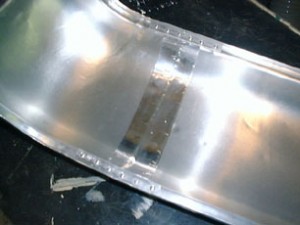
- Here are the two halves ready to be joined. All the edges have been cleaned up and filed smooth. I cut two 4″ straps from 1/8″ x 1/2″ aluminum bar stock to serve as splices.
- Clamp up the 2 halves and the splice strips and rivet together. I used solid AD aluminum rivets and bucked them so as to be minimally seen, but you could use short pop rivets.
- I sealed the splice joint on top with Vulkem sealant and a strip of aluminum tape on the underside.
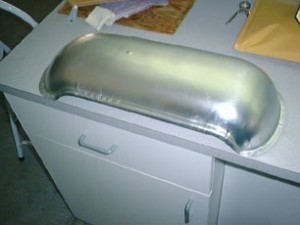
- The finished project ready to install.
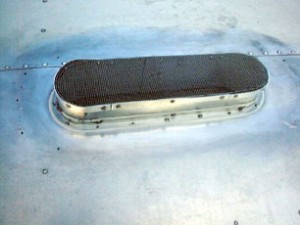
- To prevent bugs & debris from going down the vent, I installed 1/8″ aluminum hardware cloth over the opening, held in place with pop-riveted aluminum straps.

You can see the original cover on this 1967 Airstream ad on a 26′ Overlander.
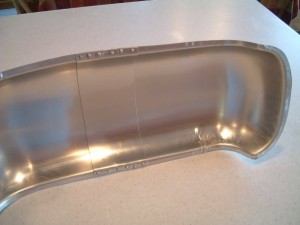
I did another cover recently, and this time used the removed section as a splice. This worked out well as you can see. The splice is a little less obtrusive this way.
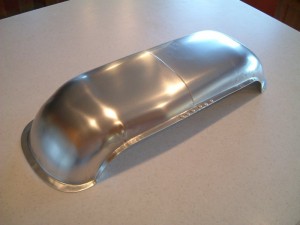
AIrstream uses the 28″ version of this aluminum cover on their trailers today, finding the plastic ones just do not hold up to UV rays, and will disintegrate with time.
Vintage Trailer Supply has a correct sized one in ABS, painted silver to avoid UV


